Showing posts with label gift ideas. Show all posts

Wednesday, January 25, 2012

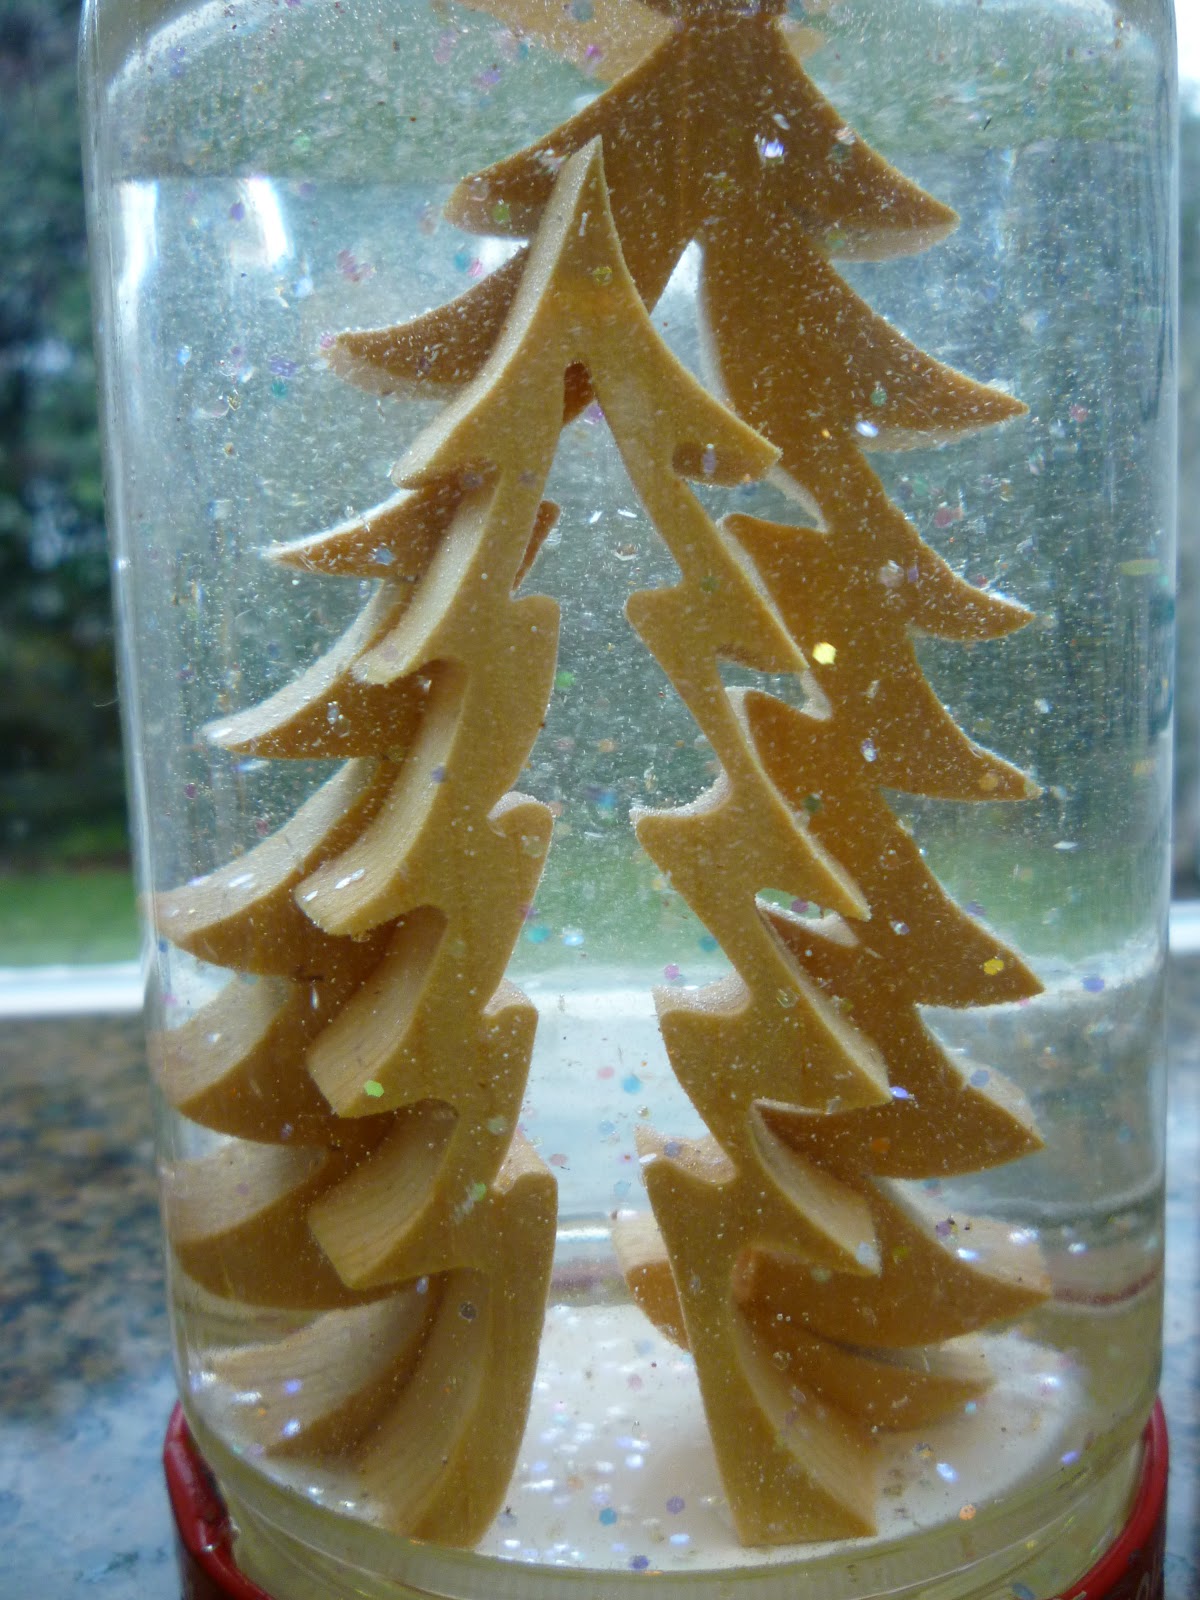
Make Your Own Snow Globe - let it snow glitter!

With all our snow last week outside we were inspired for an indoor snow craft...

Supplies:
  •  A strong, waterproof glue to create the inside/base of your snow globe (we used E6000 and let it dry overnight)  
  • A glass jar with a tight fitting lid
  • Sparkles or glitter + spoon to stir
  • Liquid Glycerin
  • Hot glue and glue gun - or caulking would work to seal the globe and prevent leaking
DAY 1:  The first thing to do to make a snow globe is decide on what should go inside.  Play around with different figures, toys, ornaments, mini trees or whatever.  The ones that turned out to be my favourites were the least conventional.  You will want to create a bit of a raised base for any figurines you use so they will be visible inside the glass, You can use anything that is not water soluble - pebbles, glass marbles, etc.  Flip the lid over and glue items to the underside of the lid, checking as you glue that the lid will still screw onto the jar.  Definitely use your strongest glue to position the items.  You can also glue something directly to the inside of the clean, dry jar if you would like it a bit more suspended. (Below we did this with the little girl on the horse ornament to give more of an appearance of flying.) Allow the glue to dry overnight.
 

DAY 2: Next you want to mix water + glitter (not too much or the glitter clumps together) + a tablespoon of liquid glycerin. Stir together. 


Take your figurines and dunk them upside down and screw the lid on. Turn upside down and see how you like the results.  If there is any changes to make there is still time...when you are sure its good, seal it shut with hot glue. 

Here are some of ours. The best thing for me was using all those little toys that get underfoot. And honestly aren't these pirates a lot happier? Swimming in gold dust forevermore...and standing on a pile of treasure.
This guy feels like he is discovering a new planet...(I think this is my favourite)


Footnote: We used glass jars without any breaks, but the glycerin is slippery and I think plastic would work as well and not be as fragile. Let it snow glitter!

Monday, September 26, 2011

Make a Birthday Card Stash

Do you find yourself rushing around right before your child attends a birthday party looking for a card, gift wrap, etc? Oh and then go out a buy and expensive card at the store. That was me until last year. For the first time we made a batch for the year. Last year we did pop-up cards from a kit and their group of friends started to look forward to them, that was kind of fun.

When I saw this really fun tutorial to make these lizards on Skip to My Lou, I knew it would be this year's craft. It's by Larissa, from mmmcrafts.  

The boys decided that not all their little girl friends and cousins would like a lizard, so we did some butterflies too.  To make things easier (since my boys hate cutting and would rather writhe on the floor in agony about it than do it - hey I pick my battles).  I cut out all the shapes from Larissa's templates for the lizard and made my own for the butterfly (If you want it shoot me an email I have no idea how to link it here).

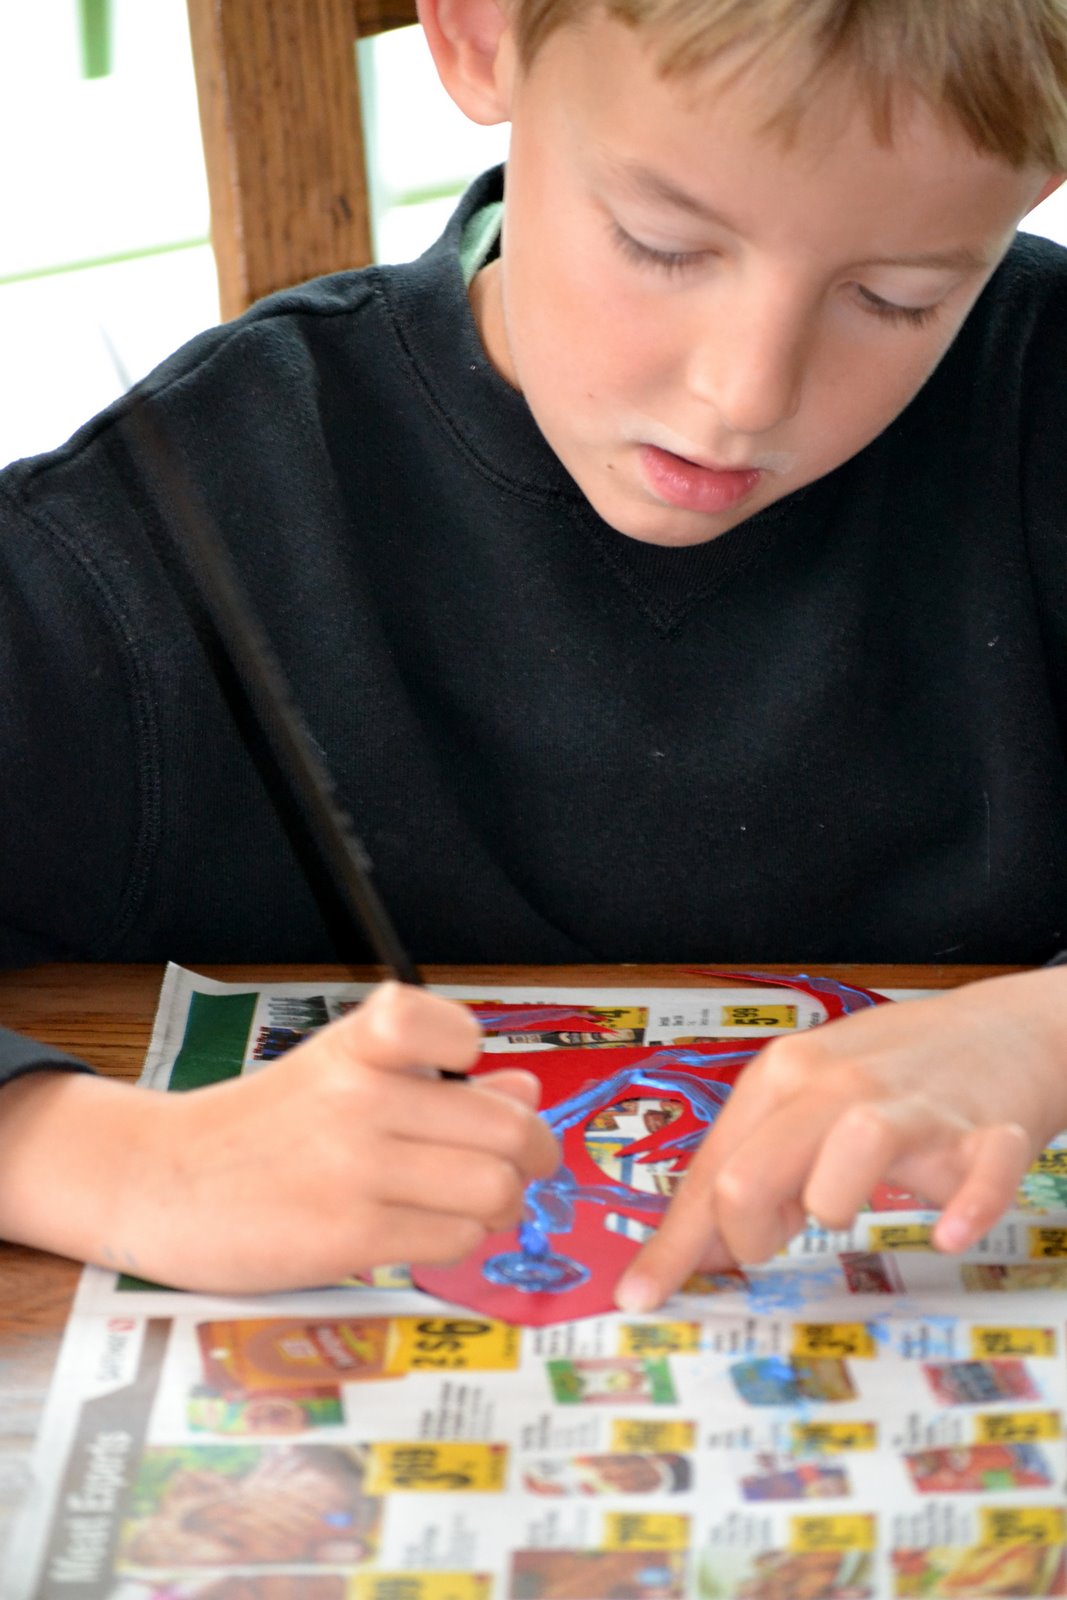
All the boys had to do was paint and glue on tongues. (She does have cool eyes and dots to punch from paper with her tutorial.) Fun and a bit stress reliving after school activity.

The butterflies we did a press and paint - where you paint one side (add quite a bit of paint), fold it over on itself and then open the butterfly for a symmetrical pattern.

This year I also scored a giant shoebox full of maps at a garage sale, so that's our wrapping paper.  E has been known to doodle on the map too, adding cars, restaurants, tents, houses etc, which makes it extra fun and more personal.  Oh!  Let your paint dry overnight before folding as she suggests - the 3-D detail makes it super cool! (You can fold the butterfly up the middle, then horizontal between the top and bottom wings and diagonal through the wings).

Happy Birthday Party-ing!

Posted by Picasa

Wednesday, April 6, 2011

Dragon Tee

A little birthday present for the boys' friend who loves dragons,  E and C helped with the design + clipart.  The best part is I've seen the little boy at school twice wearing it! (Iron-on applique and red stitching). E is modeling for me.

I'm linking to:

Thursday, March 10, 2011

Cold and Flu Survival Kits

It's that time of year again - anyone had sick kids, sick husband and sick self?  It's the one season I'm very against sharing.  Keep your germs to yourselves I say.   Hand-washing goes into overdrive and tissues come out to party.  I thought the boys' teachers could use some defense against the barrage of germs they face on a daily basis. I was inspired by a vintage first aid kit like this one and this one.

Supplies needed:
  • a box - the size is up to you, an old check box works well, shoe box, even the box your Tylenol came in would work, check your recycling bin
  • Felt
  • Hot glue gun/glue
  • Scissors
  • Get well soon, first aid card

Cover the box first.  I centered the box on the felt, ran hot glue along the top edge of the box - smooth out as you go.  Now fold the felt up on side - if you keep the hot glue only on the edges of the box it won't be lumpy in the middle as it drys. Cut straight lines at the corner and fold/glue the next side.  You could use a felt red cross on top, but a glued the card we had potato stamped a couple of days ago.

I filled it with a super easy to make tissue pouch, Emergen-C, wet ones antibacterial wipes, Advil, throat lozenges, etc.  If you do this I'd love to hear what you put in yours or any ideas you have for it.
Posted by Picasa

Wednesday, March 9, 2011

Help is on the way...


Know someone under the weather?
 I love potato stamping. Here is a cute, easy get well card idea.  It also helps to add some other things with card when dropping it at a friends. Home made soup is great, but I didn't get that far.

..more to come tomorrow.

Saturday, June 26, 2010

Crowning Glory - Child's Felt Crown

A  birthday/princess crown for a little friend. A tip - sew embellishments on the first layer of felt (the jewel is also a hair barrette).  Buttons make great embellishments and felt pieces can be changed out, this crown has flowers and hearts.  I cased the elastic in ribbon to make it a little prettier and more comfortable on the hair.

Thursday, May 27, 2010

A Teacher Gift


Here is a little something we made for our teacher (super easy).  The boys loved collecting sticks for it, my mom gave me the idea...


Wednesday, May 5, 2010

Classroom Craft - Watercolour flowers

This is our class craft from last week, the flowers were for a spring window display in the hallway. They would also be great to hand out for mother's day and easy to make a few (or a lot) at home. I think the kids would have made twenty each if they could have.  They really enjoyed creating these.

The supplies were all things our teacher had on hand, - pre-cut watercolour papers, liquid watercolours (I think food colouring/water would work great), science droppers, and chenille stems.  
I had the kids each paint on a clipboard and after one round of kids at the station, I added a couple of paper towels under the paper to absorb all the excess water.

Despite how much liquid is used they dried very quickly and within 1/2 hour I was able to gather the flower in the middle and twist the chenille stem onto it. Here are some finished flowers in a pencil can.
Posted by Picasa

Sunday, May 2, 2010

A Super Stash Jolt plus some busting with flowers...

My sweet mother-in-law recently gave me an entire box with all kind of cool stash stuff! How lucky am I?
Besides exploring all the cool stuff, I've been having fun making some fabric flowers from some new to me fabric stash.  I experimented with a couple different ways and found this way to be the easiest and least likely to catch fire...oh and I think they are pretty.
I think this works on any fabric you shouldn't iron due to melting (some with better shapes then others). It is a great way to use up some scraps from past prom and wedding dresses. Now I'm deciding what to do with finished flowers...but that might be another post, anyone want one?  With no girls to decorate my practical uses for them are limited. Anyway....

OK So I put the end result first in my little quadrant so you won't be able to wait to try these. 
1. Supplies: 
- A heat gun (used normally for heat embossing, has more heat and less air then a blow dryer, if you don't have one of these, either experiment with a lighter and fire extinguisher or quit reading now)
- Craft glue (I like Aleene's tacky - it's thick and dries fairly quick, but I'm sure school glue will work too) 
- Tweezers (handy to add the beads, but also you need something to hold the fabric as you blast it with heat so you don't burn you fingers, a stick or pencil would work too), 
- Fabric (not pictured) 
- Embellishments like beads, buttons or nothing.

2. Cut out 5+ circles in varying sizes, plan for some shrinkage to occur.  Arrange with the largest on the bottom and stack them until the smallest is on the top.  Put a dab of craft glue in the middle of the circle, between each layer. The more layers you add, the more ruffly the flower.

3. When the glue is dry, hold the center of the circle stack down with tweezers or pencil, turn on the heat gun and aim for the edges of the flower, the fabric will begin to curl.  Shoot the heat from the side to get more volume and directly from the top to curl the top layers.
4. Add embellishments to the middle of the flower a corsage pin, barrette or headband to the back.  If some are too curly or very small or weird throw them out for heavens sake.  I did find some of the weird ones looked pretty good after all clustered in a group, glued on a card.

Oh and if you want to try this, I claim no responsibility for toxic fumes, but mine hardly tainted the air (as far as I know).  If you do make some - I'd love to see, and see what you did with them whatarewedoingtodaymom@gmail.com

Wednesday, January 27, 2010

Make your own gift box

So with two boys birthdays coming up (and my darling Mum's).  I've been thinking a lot about presents and wrappings,  Here is an easy recycled gift box - you could paint/stamp/sticker/decorate the outside or use some pretty ribbon.  Basically you are turning a box inside-out.

1. Cut off top to size you need. try to open the box at the adhesive to keep the flaps rather than tearing it or cutting it.


Cut new closing flaps at the end of the box you had to cut and angle corners in slights.  Mirror the flaps on the bottom of the box.

Fold inward, it is helpful to crease the fold with a bone folder but not completely necessary. Tape up the sides.

Add gift and seal top shut.

Posted by Picasa

Sunday, January 17, 2010

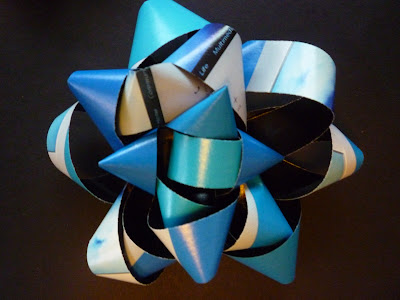
Bow-nus Time!


There is a great tutorial on bow-making at How About Orange.

These, like hers, are made from magazine pages.  I had a little fun with this earlier this week. I don't know when I'm going to need these, but I'm ready!

Wednesday, January 13, 2010

a "Super" Birthday present

For my boy's friend's birthdays I love to be able to give something personal and handmade if I have my act together. The boys get excited about it and help a lot with design ideas. This last weekend we had 2 birthday parties to attend. Our first friend needed a super hero outfit...

Super cuffs and a Super cape.


The cape is actually cut from the bottom piece of the Emmeline apron pattern, it has just the right shoulder size, cape angle and nicely curved bottom. I roll-hemmed around the sides, using a lightweight cotton and lightweight iron-on webbing to add the appliqué pieces then stitched around each shape. I added a wide grosgrain ribbon to the top for a tie-on.
Posted by Picasa

Tuesday, January 12, 2010

Surprise Balls

I saw this great idea and tutorial on Once Upon a Holiday. Surprise balls! My mom, sisters and I made these for a Christmas Eve surprise, but they would be fun for a New Year's tradition or birthday or just a rainy/snow day.

Click the link above for the great tutorial. I found it was great to start with something larger, I used the fake ice cube with the bug in it. Then you have something to build your ball around. My mum found some crepe paper streamers already in rainbows of colour which was fun to unwrap.

It was so fun to see the joy of discovery at each prize.


Posted by Picasa

Tuesday, December 22, 2009

Quick Cape for Superhero PJs

Dress up is always a hit at our house. We have a basic batman and superman t-shirt that we use for Pajamas. This is an easy, no-hem cape.

It is lightweight, thin cotton fabric and easily removable from a sleeping child so they don't get tangled up in it.

Pink the edges of what you will use for a cape. I measured the shoulders and then cut to the bottom at the wideth of the fabric, in a triangle, with a slightly curved bottom cut. If you fold your fabric in half lengthwise to cut it at least both sides will be the same...
Sew Velcro (prickly side on the cape) on each top corner.

Sew velcro (soft side on the pajamas) on the top of each shoulder right across the seam.


Posted by Picasa