Even grown-ups need to be reminded it can be tough to be a kid. This table is just outside the IMAX at Pacific Science Center. It was made this giant size for a reason - so adults can experience what it is like for a child to be seated at a grown-up table. It was pretty hilarious. I thought it looked like Luke, Travis and Amber all shrunk!
Showing posts with label science. Show all posts
Tuesday, April 12, 2011
Monday, April 11, 2011
Sugar Crystals
I've been meaning to post this science experiment for a while now - we tried growing sugar crystals! It's really easy. My kids thought it was tasty (although I wouldn't eat something that's been sitting on the counter for a few days they thought it was irresistible). You probably have everything you need already. The best thing about this science experiment is that it is only a few hours before you start to see results.
There are some good instructions here, and here and I just found a fun science blog here with the same experiment, she has a download to print with instructions!
Some tips:
1. Dissolve as much sugar as you can in boiling water - ours would have worked better if we had added the sugar to the boiling water in the pan, until saturated and clear, instead of pouring boiling water into the sugar. After you have a dissolved mixture in your pan, then pour into a warm glass jar (warm because if cold the glass may break, just run the jar under hot water for a minute).
2. Use cotton or wool string - crystals will not form on some fibers. Also if you plan to eat/try eating the crystals use a weight (like a button) that is non-toxic (instead of a paper clip for example).
3. Put a light, airy cloth over the experiment to keep out dust, making the end result more edible.
Monday, November 15, 2010
Too much candy? Try some science..
Last year we had so much fun doing experiments with some of our Halloween candy, here's a recap. Honestly it's worth buying candy just for the experiments, if you don't have any left.
LoraLee is the master of candy science, for more check out her blog.
Sunday, June 13, 2010
How Low Can You Go? - Tides
This is my friend Sarah and I at our "graduation". How do you like our caps? Sarah has opened a whole new world to me, I had no idea all the amazing things I was missing on the beach. We participated in a Beach Naturalist training program this spring through the Seattle Aquarium and now we are joining a lot of other naturalists out on Seattle's beaches during low tides. I'm so excited!
Today was the lowest tide of the summer in Seattle and I mean low -3.5!
The rest of the week the tide schedule (in Seattle) is:
Monday -3.4 at 12:54PM
Tueday -2.9 at 1:41PM
Wednesday -1.9 at 2:28 PM
Thursday -0.5 at 3:17 PM
Head to the beach a couple hours early so you can really check it out and the tide tends to roll back in before you know it! The lowest tides are during full and new moons (just so you can plan your beach trips). To find out tide schedules and beaches that have naturalists to ply with questions (all summer) click here. I'll be at Golden Gardens Monday and Tuesday if you want to come say hello.
Now for a little beach naturalizing...Here are some some things to look for when you are out in the Pacific NW. For all of you in many other places, here is a reason to plan a visit here :) I also wanted you to have a chance to check out some of the great things on our beaches:
- Whelk Eggs
- Heart-shaped mullosk
- Cauliflower algae/seaweed
- A group of sea anemones that have retreated waiting for the water to come back in
- A moon snail
- A whelk that has been eaten by a moon snail (See that perfectly drilled hole?)
- A geoduck clam - the siphons are both smooth and it's big (the largest burrowing clam)
- A sea star that is regenerating a leg
- A thatched barnacle
- A well-disguised crab amid the rocks
- A red-rock crab by Luke's foot
- E discovering something cool
- An egg casing from a moon snail (This is filled with thousands of eggs)
- A limpet
- A big upside-down anemone hanging from the rock
- Luke and the boys exploring
- A sea cumcumber with tentacles out
- Several sea cucumbers
- A bleached shell covered with baby barnacles
- A group of little bamboo tube worms
Friday, May 21, 2010
Science Time: Extract Strawberry DNA
Yes, you read that correctly, extract DNA from a strawberry. The best part is that you don't need anything fancy to do it, you probably have everything at home! We did this at the Pacific Science Center on a "Meet a Real Scientist Day."
Materials:
2 Strawberries
small baggies
2 plastic cups
non-iodized salt
cheesecloth
wooden stick (like a bamboo skewer, or Popsicle stick)
shampoo
water
rubbing alcohol (cold)
To keep the strands of DNA intact throughout the isolation, you need to handle everything gently (after the smashing of the strawberry). If you do this, you will be rewarded at the end with long. gooey strings of DNA.
4. Strain the mixture through 2 layers of cheesecloth into a plastic cup. Allow the liquid to drip through. After most of the liquid has dripped through, you may gently squeeze the cheesecloth to get more liquid out.
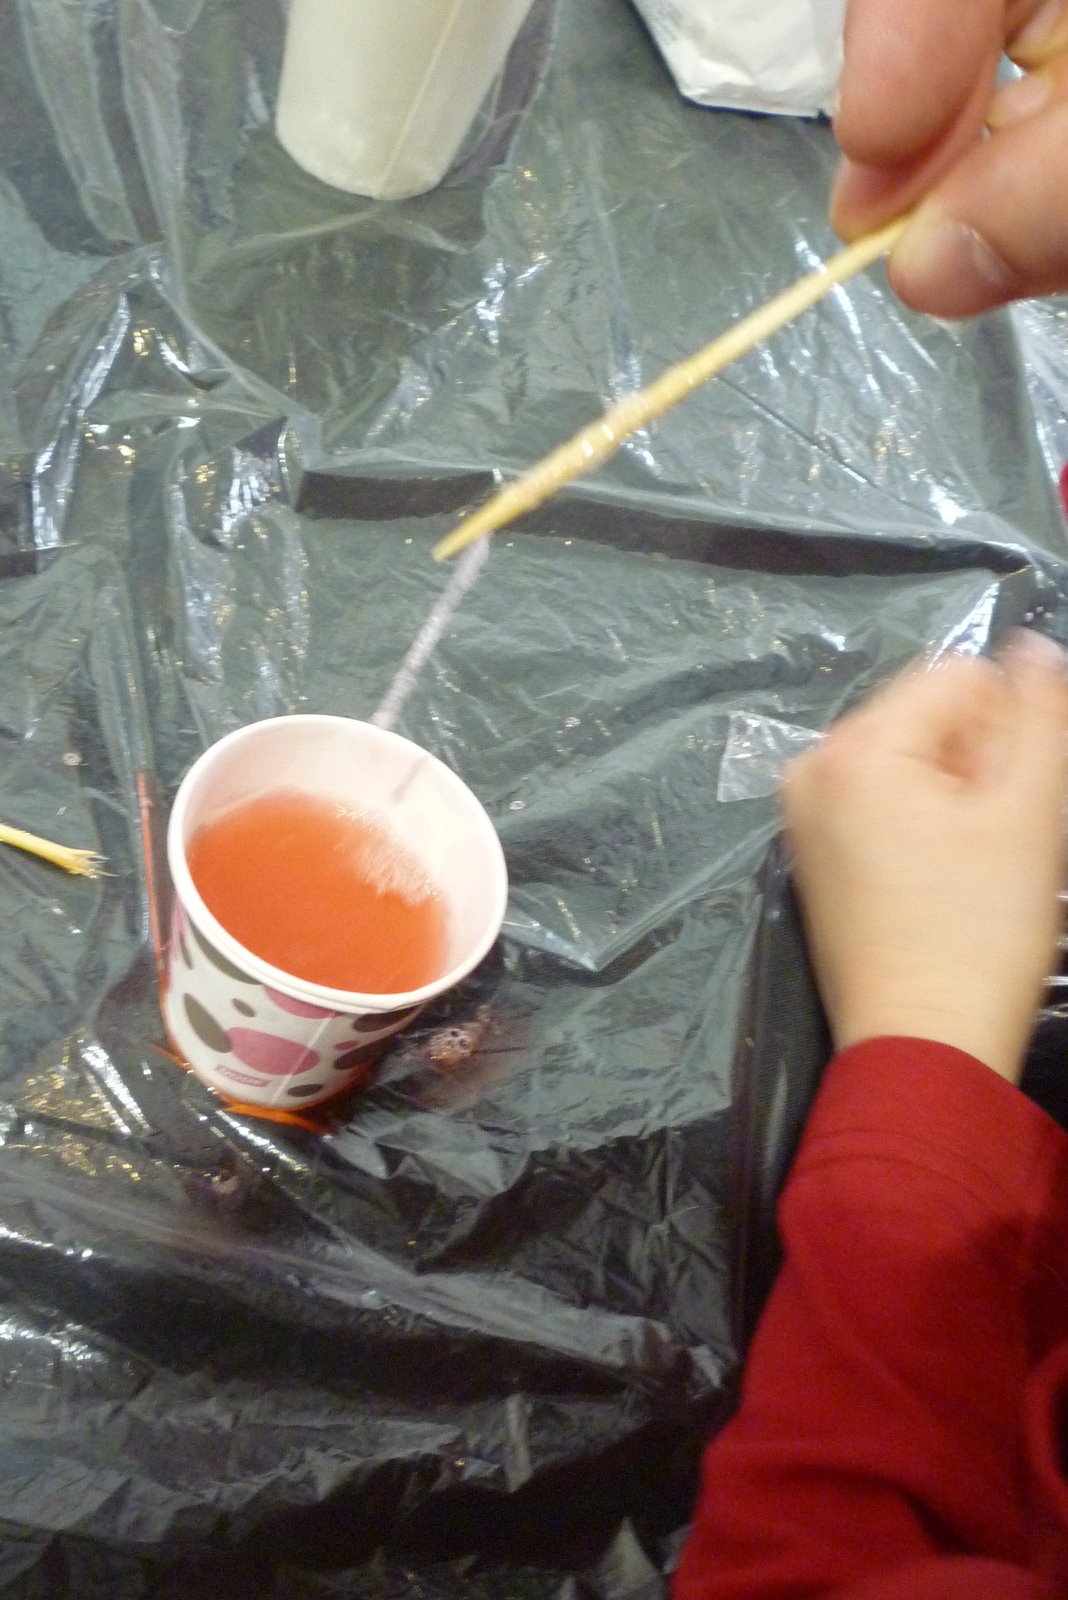
5.Add an equal volume of cold rubbing alcohol to the clear, pink liquid and gently swirl the cup. You should see strings of clear DNA form and float to the top. Use the wooden stick to twirl the gooey DNA around and pick it up out of the liquid! This is DNA!
The text content of this experiment comes from a handout, "DNA: The Stuff of Life", The South Lake Union Group (sligorganizers@u.washington.edu), from the 2/24-3/3/03 issue of the US News and World Report - adapted from the Washington University Young Scientist Program.
Some great links about DNA for kids are:

Thursday, May 13, 2010
Science Time (success and failure): Eggs-periment Take the Shell off a Raw Egg
There are two parts to this science experiment (I can only recommend the first).
It's very easy:
1. Supplies needed: white vinegar, water, two egg and two containers.
2. Put one egg in each container, cover one with vinegar and one with water.
3. Label and set the timer for about 3 hours.
4. Check on the eggs the one in the water will look the same, the one in the vinegar has no shell!
The reason: Vinegar is an acid. The egg shell is calcium carbonate (the same stuff sea shells are made of). The acid breaks apart the molecules of the shell so it dissolves into the vinegar. The calcium part floats way from the egg into the vinegar and the carbonate releases carbon dioxide. See the bubbles on the egg? That's the carbon dioxide.
At this point you can gently touch the egg, the outside feels soft - that is the membrane of the egg.
5. Now for the failed part of our experiment...I had read if you kept the egg in the vinegar for 7 days it would be rubbery and squishy, even able to bounce and at least we could pick it up. Nope. After 7 days (about a hundred years for 6 year-olds) we got the egg out again. The membrane was more firm and felt much less fragile. Alas, upon attempted to pick it up, the egg burst. Maybe a good time to talk about the structure of a cell, but the disappointment was great...I'm trying to figure out if refrigerating it was a bad idea and somehow slowed the reaction...any ideas from you scientists out there? Maybe our expectations were too high.
Thursday, April 29, 2010
Science Time - Underwater smokers
This is an easy, quick results experiment that shows movement of water of different temperatures (convection). The warm water is less dense(lighter) than the cold water, so the warm water rises to the surface and the cold water sinks to the bottom. This is called a convection current.
We actually did this experiment twice with the same results, everyone wanted a turn and it was really easy to do again.
Needed:
Large clear glass jar - we waited until we ran out of pickles :),
small jar - ours was plastic, the small neck is good to watch the water rise out.
Fill the large jar with cold water so the water will be above the height of the small jar (we added some ice for a few minutes to get it extra cold)
Fill the top jar to the top with hot water (we just used hot tap water, ours gets steamy and I didn't want burns) + add food colouring so you can see the different water temperatures - the more vibrant the food colouring the easier to see the convection.
Now you are ready. You could either attach a string to the top of your small jar to lower it into the cold water, or what we did it use regular kitchen tongs to lower it down and set it on the bottom.
Get right at eye level with the mouth of the small jar for the best viewing.
The explanation: When you heat up water, the water molecules start moving around faster and faster. They bounce off each other and move farther apart. Because there's more space between the molecules, a volume of hot water has fewer molecules in it and weighs a little bit less than the same volume of cold water. So hot water is less dense than cold water.
Very fun, but how does this relate to underwater smokers? Scientists have found really interesting vents in the ocean called Black Smokers. Go to NOAA's website to find out more and watch these cool videos. Also see the documentary on PBS.

Monday, April 5, 2010
Science time - Fancy Ice Cubes
Here is a quick science learning opportunity, solids v. liquids. With a gray day, a little colour to adds some fun... This is simpler than colouring eggs. Add a little food colouring to water, pour water in fancy shaped ice trays (From IKEA). Freeze...wait...add to your water at dinner...watch it melt back into water.
Tuesday, March 2, 2010
Science Time - Take something apart
What do you have that you could take apart?
Tuesday, January 26, 2010
Science Fun - Baking Soda and Vinegar
A fun chemical reaction with dramatic and still safe effects. and your kids can do it all. If I was really ambitious we would have made some kind of volcano for this mixture, but we did the quick and dirty version.
Allow your kids to spoon some baking soda in the bottom of a cup (or 2). Put the cup in some kind of pan/container with an edge to save yourself A LOT of clean-up.
They can pour a little bit in over and over again to see the reaction, until all the baking soda is dissolved. In this reaction, explain that carbon dioxide gas is produced (the molecules break apart, mix up and reorganize, the pressure from the gas builds up into bubbles. The best simple explanation I found is here if you or your kids want the details. "What actually happens is this: the acetic acid (that's what makes vinegar sour) reacts with sodium bicarbonate (a compound that's in baking soda) to form carbonic acid. It's really a double replacement reaction. Carbonic acid is unstable, and it immediately falls apart into carbon dioxide and water (it's a decomposition reaction). The bubbles you see from the reaction come from the carbon dioxide escaping the solution that is left. Carbon dioxide is heavier than air, so, it flows almost like water when it overflows the container. What's left is a dilute solution of sodium acetate in water."
Tuesday, November 17, 2009
Candy Science - Floating Letters
OK, it's true, we can't stop doing these - Loralee has such a great site full of ideas, this one is called floating letters. The kids should place the candy (skittles or M&Ms) submerged in water. Don't stir, just leave it, for awhile. Come back when you remember to check it (1/2 hour +). You may need to carefully swirl the water to raise the letter up if you don't see anything, but if you still don't see anything after that, come back later.
Sunday, November 8, 2009
Candy Science - Dye Job
So here is another candy experiment...Chromatography
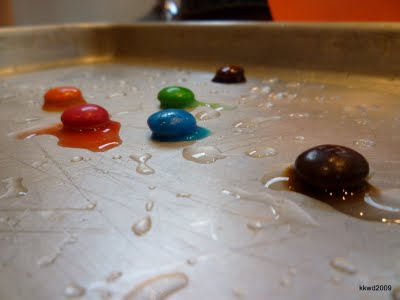
We used M & Ms as suggested. You put the candy on drops of water and the result is quite beautiful...
Then add a drop of the colour to a strip of coffee filter (label in pencil with the original colour)
Stand up the filter in water and the water seeps up the filter strip separating out the colours of dye used. (I might recommend a magnifying glass to bring the results close-up (since we didn't use very big drops of colour), or use bigger strips and more colour...
It's fun to see. To help our filters stand up we leaned them on the side of the bowl.
Then add a drop of the colour to a strip of coffee filter (label in pencil with the original colour)
Stand up the filter in water and the water seeps up the filter strip separating out the colours of dye used. (I might recommend a magnifying glass to bring the results close-up (since we didn't use very big drops of colour), or use bigger strips and more colour...
It's fun to see. To help our filters stand up we leaned them on the side of the bowl.
Tuesday, November 3, 2009
Candy Science - SweetTarts
Anyone have a few of these lying around? I'll be honest the results were pretty weak, but my kids loved this science activity - They want more candy science tomorrow...
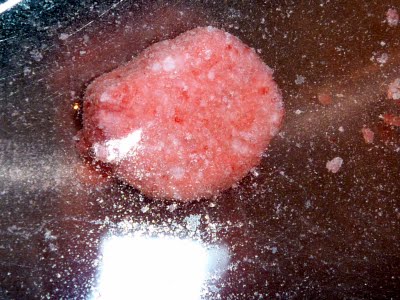
So with a SweetTart, I found two different "experiments". Both produced better results with a crushed candy (which may have been the part my boys liked the most, crushing - what's not to love) - So this is before - an intact candy and chipping fingernail polish in a lovely blood shade for Halloween.Experiment #1 - EROSION found here under "candy erosion" Don't even bother with the hair dryer option - these candies are way too tough, no erosion = boring. What we did is pour vinegar over the candy and watch, partially crushed (edges) erode. It was very mild, but worked and maybe my kids understand something about erosion now (That it takes forever).
Experiment #2 - ACID test. The best website for candy experiments is here. She has really cool ideas for tests and she explains them simply and scientifically. Again this worked faster with a crushed candy.
First she explains "Sour taste is the body's way of identifying acid, so if your candy tastes sour, it contains acid. "
What to do:
- Dissolve the candy in a half-cup of water.
- Sprinkle a spoonful of baking soda into water.
- Watch for bubbles. If it bubbles, the candy is acidic.
Subscribe to:
Posts (Atom)